Blackheads!! My dreaded enemy for years!! I tried various products to help eliminate these blackheads and became fed up when many of them did not work. I decided to take the complete organic route and make my own blackhead removal treatment. I had read many reviews on the DIY gelatin pore cleansing strips and I figured why not try this but add my own twist?! So here’s what I used:
- 2 tsp Knox Unflavored Gelatin
- 1 tsp Baking Soda
- 1 tsp Cinnamon Powder
- 1/2 tsp nutmeg
- 1 tsp Moringa Powder
- 4 tsp milk (organic coconut milk might be best but not necessary)
This masque makes enough for two faces.
Now, before I get into the actual process of making the masque, I’ll explain why I chose some of these ingredients.
Baking Soda:
I find baking soda is great at cleaning the skin. It is a natural exfoliant and can be used on its own with a few drops of water or milk to create a scrub that will leave your face clean and dirt-free. It is excellent at removing excess oil without over drying or dehydrating the skin. I have a huge problem with oily skin so I figured the properties in the baking soda should help with oil and shine reduction.
Moringa Powder:

The moringa tree grows in many tropical climates around the world and its properties have been undervalued for a number of years. However, recently there has been a growing appreciation for the moringa plant and its many benefits. It contains many minerals and antioxidants which are great for a boost in overall health. It is said that the moringa plant is rich in amino acids and vitamins A, B, C, D and E. Experts have said that the moringa plant contains more vitamins than the richest sources such as carrots, oranges and milk. The skin absorbs these nutrients via the pores. In terms of skin care, moringa has been used as a germ killer and drying agent. It also helps protect the skin cells from damage.
Cinnamon and Nutmeg Powder:
These two ingredients have been used in many different masks to help lighten dark spots on the skin and even out skin tone. I have had a slight problem with dark circles and decided to include these two ingredients in an effort to eliminate the darkness under my eyes.
The Procedure:
The first thing I did was take a small, clean, dry pot and put it on the stove. I set the stove to the lowest heat it could give then I added the ingredients one by one making sure to stir thoroughly. I stirred until it came to a nice thick consistency (maybe about 10 – 15 mins, I didn’t want it to burn). You can choose to transfer it to a bowl or jar if you wish but I applied it straight to my face once it was warm enough for me to bare. I left it on for about 45 minutes and then peeled it off. I followed this with a witch hazel toner.
My Review:
This masque did everything I expected it to do. When I peeled it off my skin looked amazing. It was so soft and smooth! I must say it did a great job of removing those pesky little blackheads. It left my skin feeling clean, my pores were unclogged and slightly smaller. My skin was left matte and shine free! Now here’s what I didn’t like:
- The smell. It reminded me of the back of the pet store. Ugh! However, once the masque dries the smell fades away. Next time I’ll try adding one or two drops of peppermint or teatree essential oil after I remove it from the stove.
- Because of some of the ingredients I put in, I was unable to see exactly how many blackheads came out.
- The next morning, I woke up to an oily face with enlarged pores (sigh).
Notes:
Its been a week since I have tried this masque and I haven’t seen any blackheads since. This masque is great at removing blackheads and temporary shine killing. Be sure to apply a thick layer on to your skin. I find the thinner the layer, the harder it is to peel off. The masque should be applied while still warm. This helps your pores to open up and take in all the nutrients the masque contains. I am still not sure what caused my face to be so oily the next morning. Maybe the masque left my face too dry causing my skin to produce an excess amount of oil. Maybe next time I will moisturize my skin afterwards.
Despite the minor dislikes, I think this a pretty good masque. It does just what the name says – removes blackheads. I definitely recommend it. Here are pics of the masque and my skin afterwards. .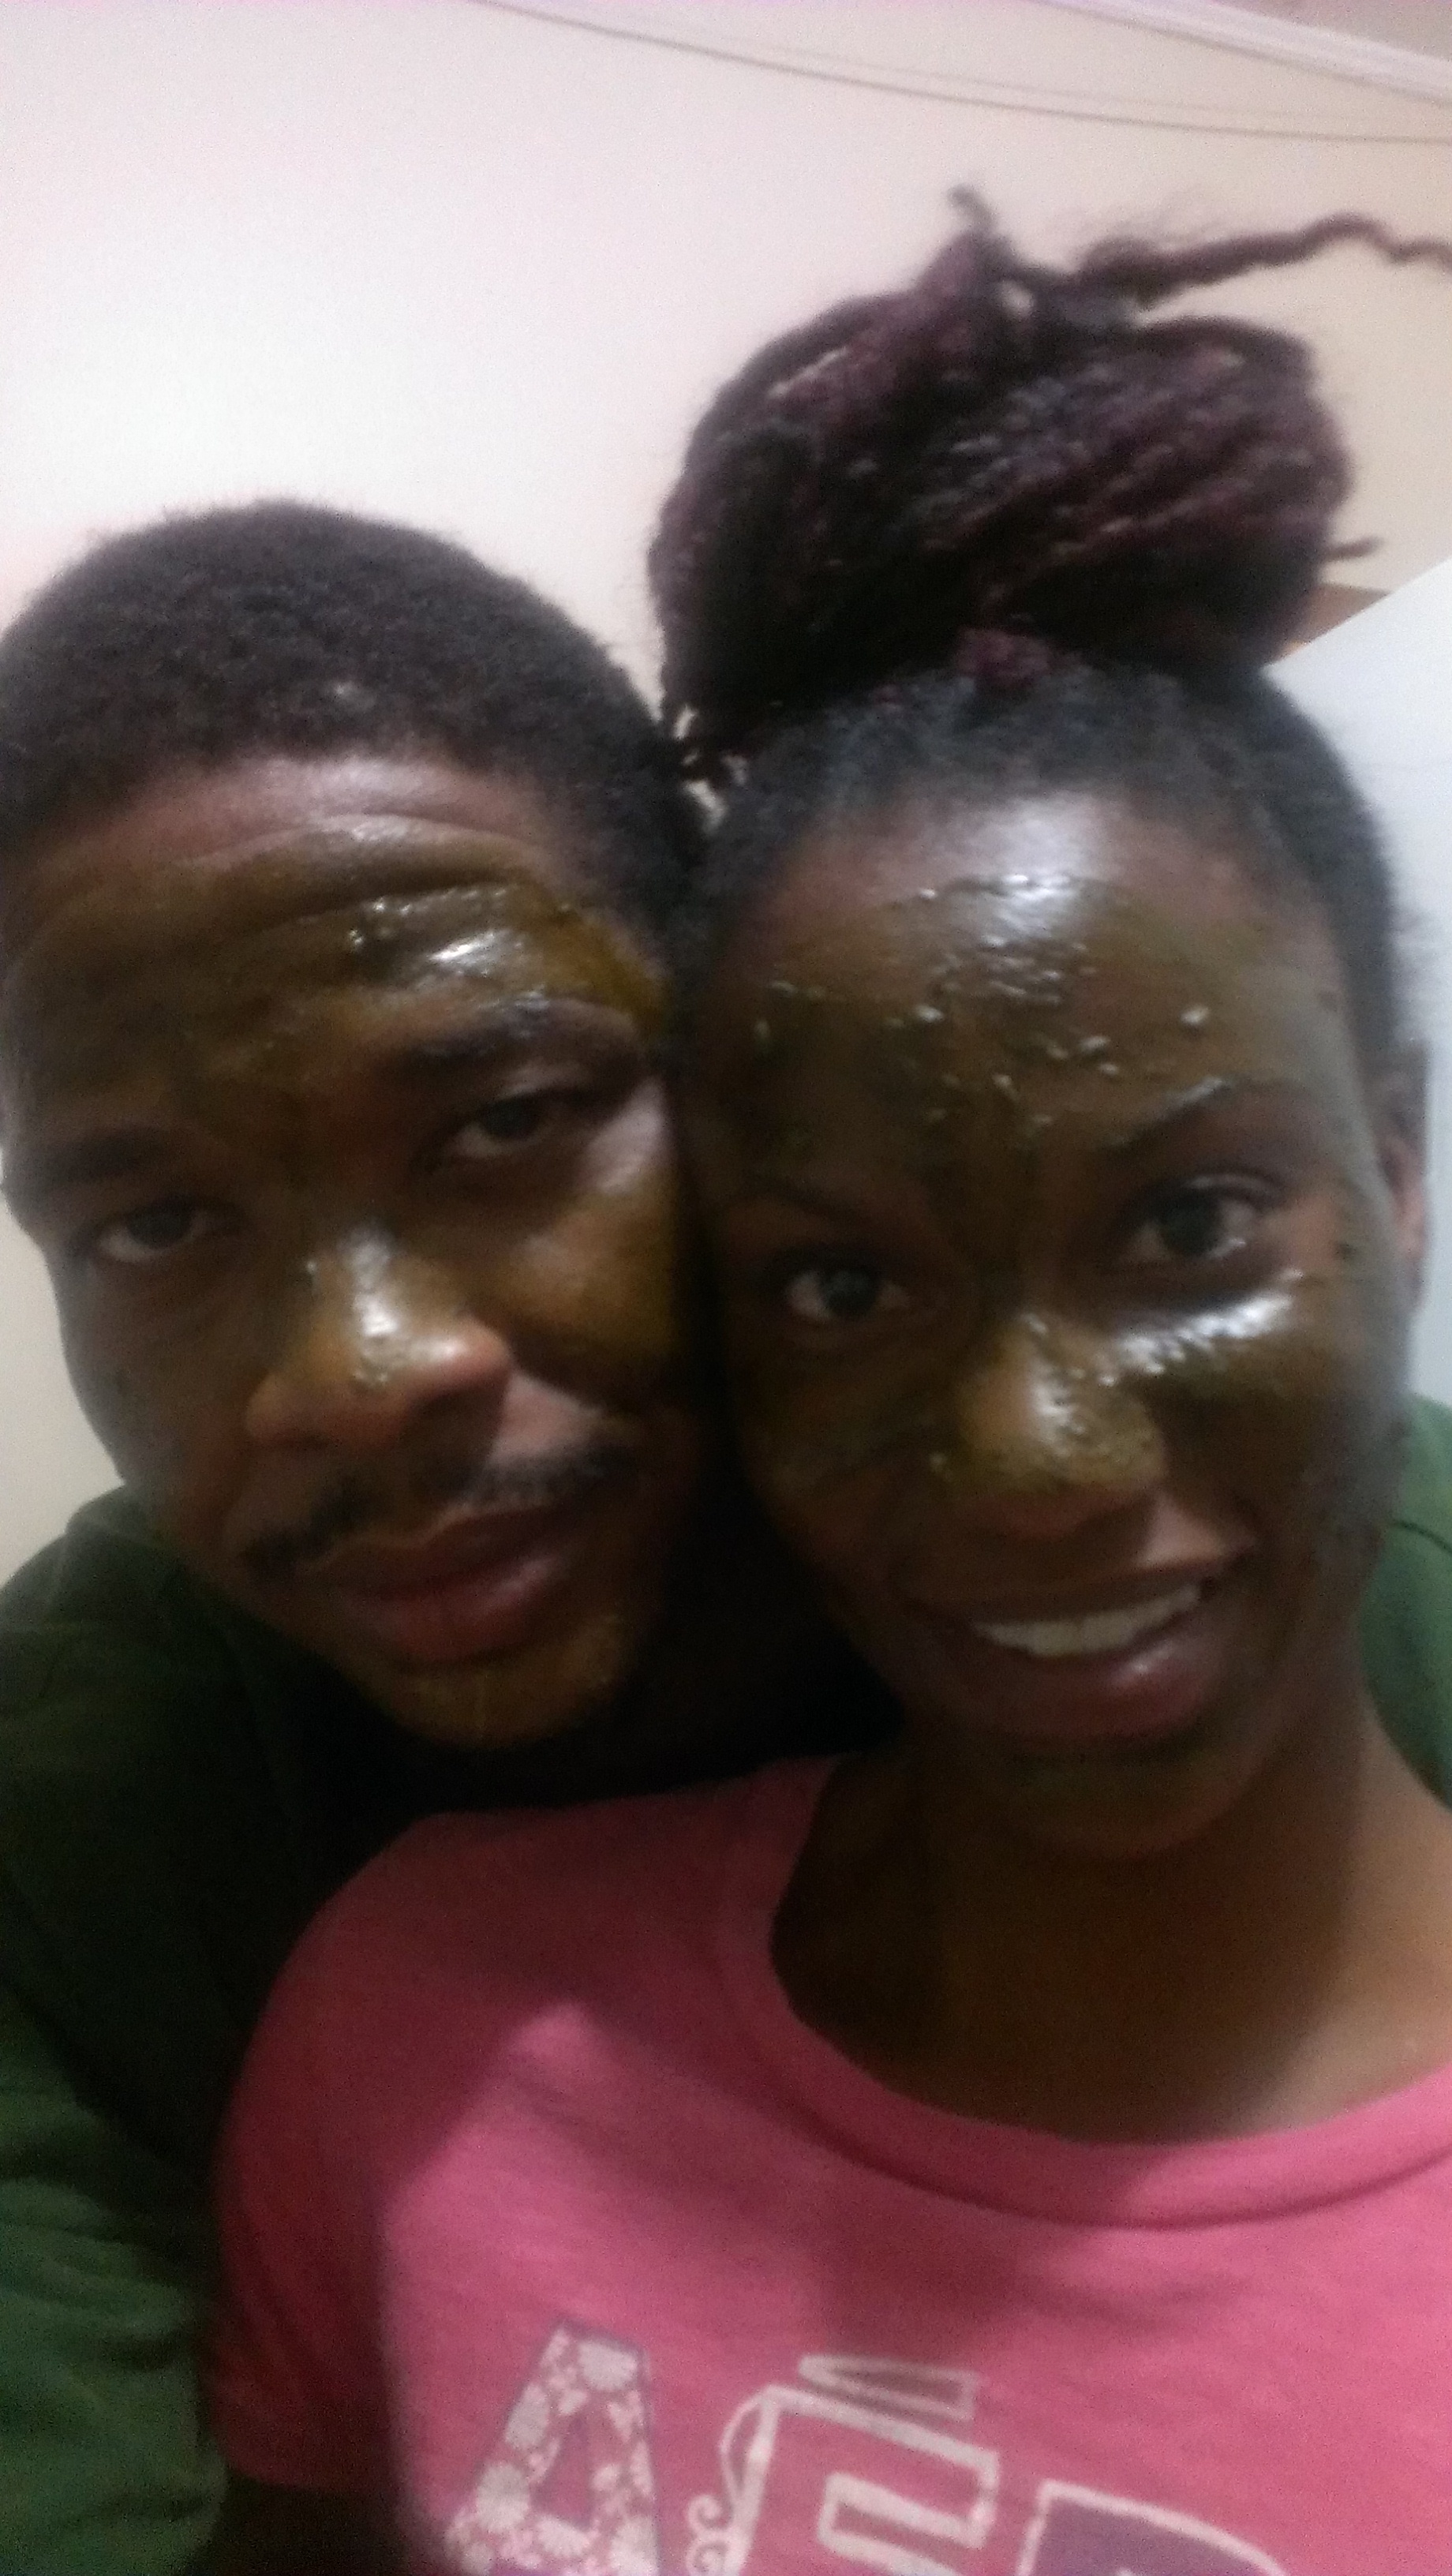
![IMAG1265[1]](https://secretserenitea.files.wordpress.com/2014/08/imag12651-e1408733535592.jpg?w=207&h=300)
If you have given this masque a try feel free to share your experience with me 🙂

I’ve never heard of mooring before. Thanks so much for posting! I’ve always had a problem with oily skin and blackheads. WIll give this recipe a try with the follow-up recommendations you made.
LikeLiked by 1 person
Thanks Sandy! Let me know if this masque worked for you 🙂
LikeLike